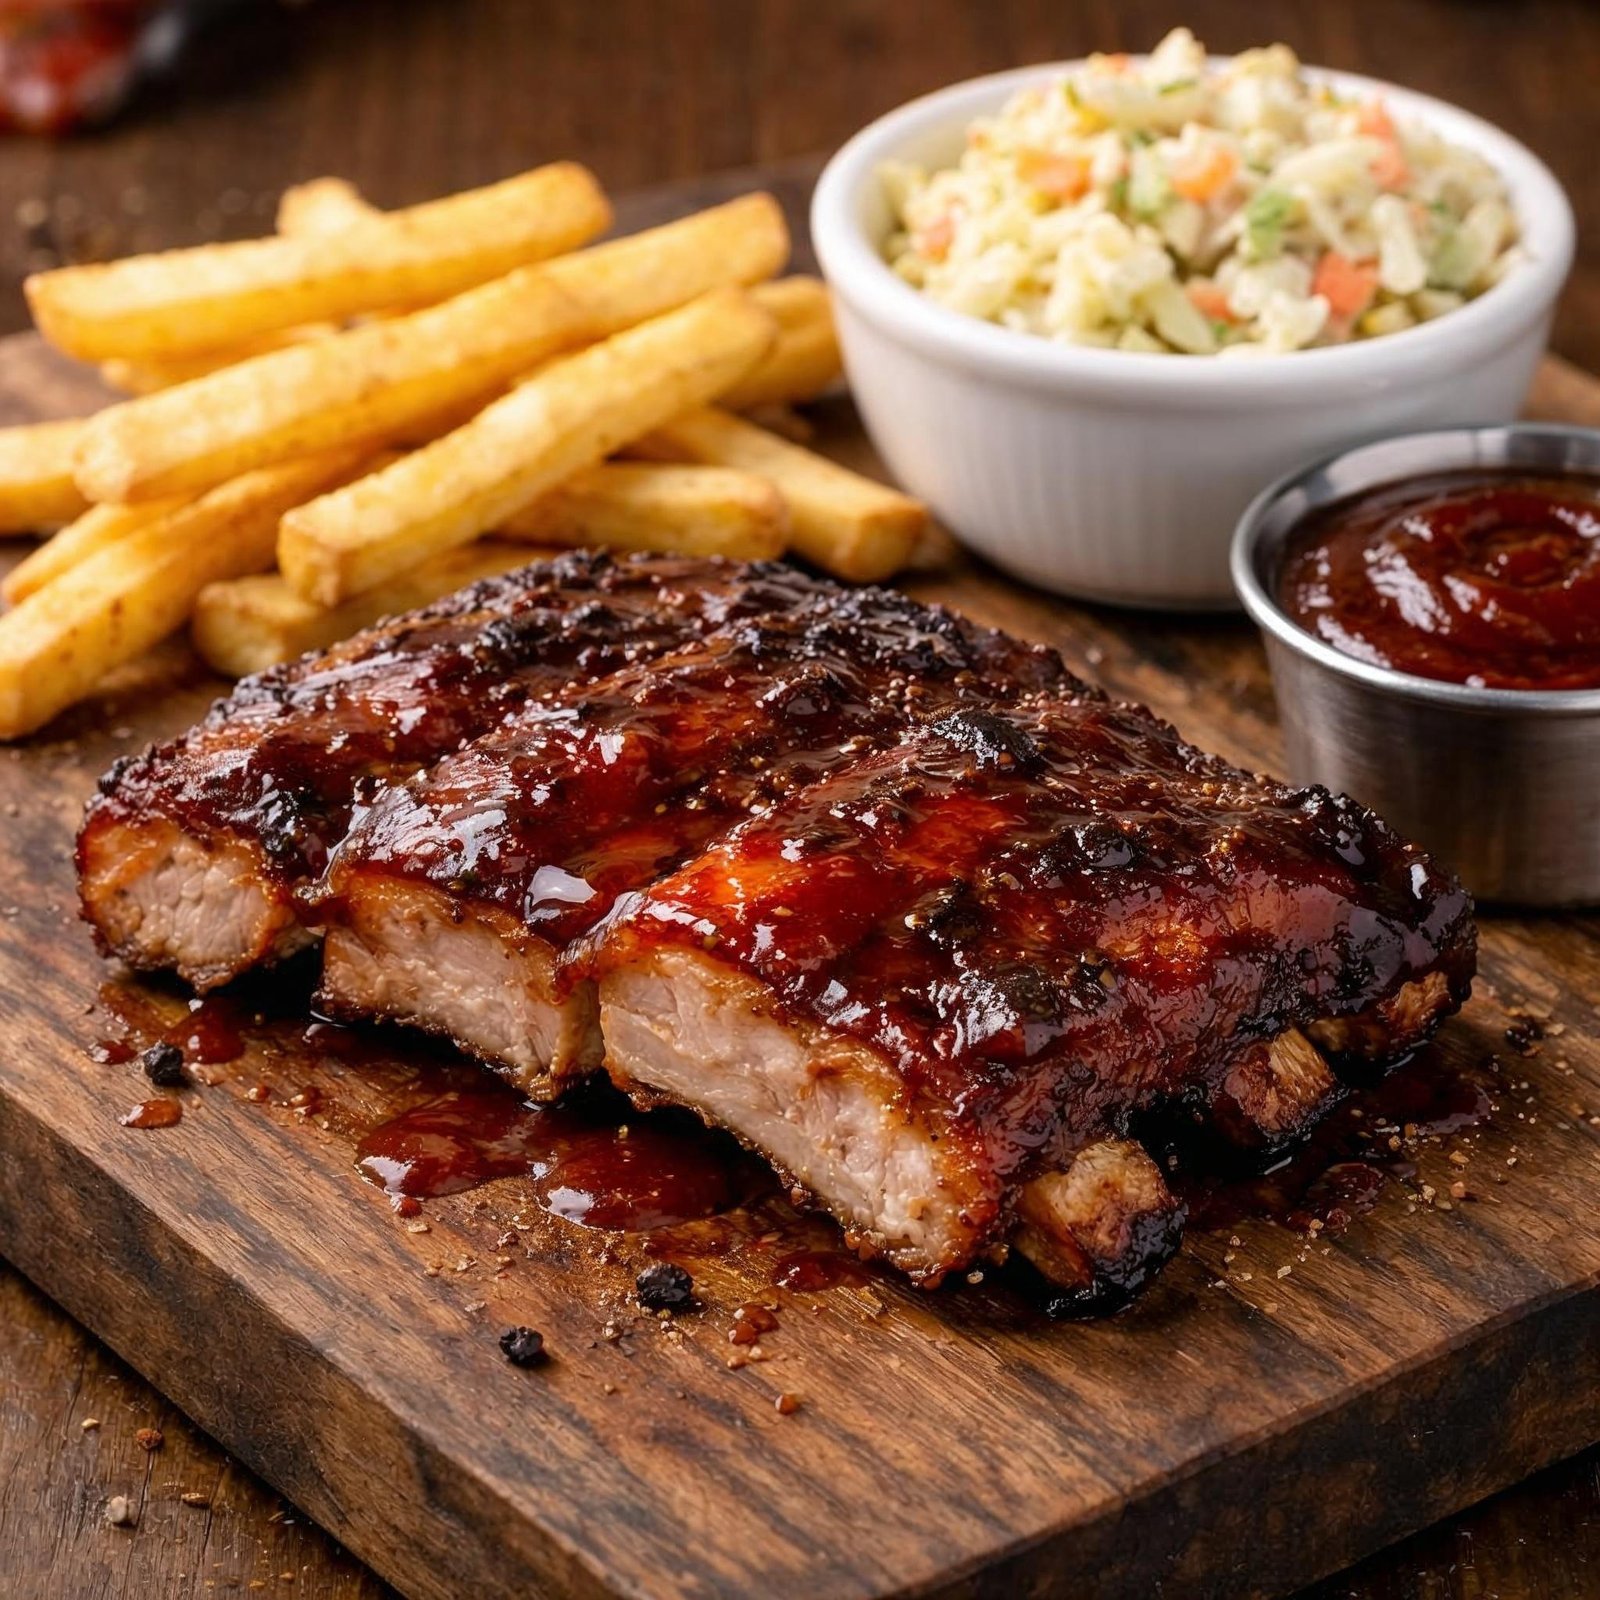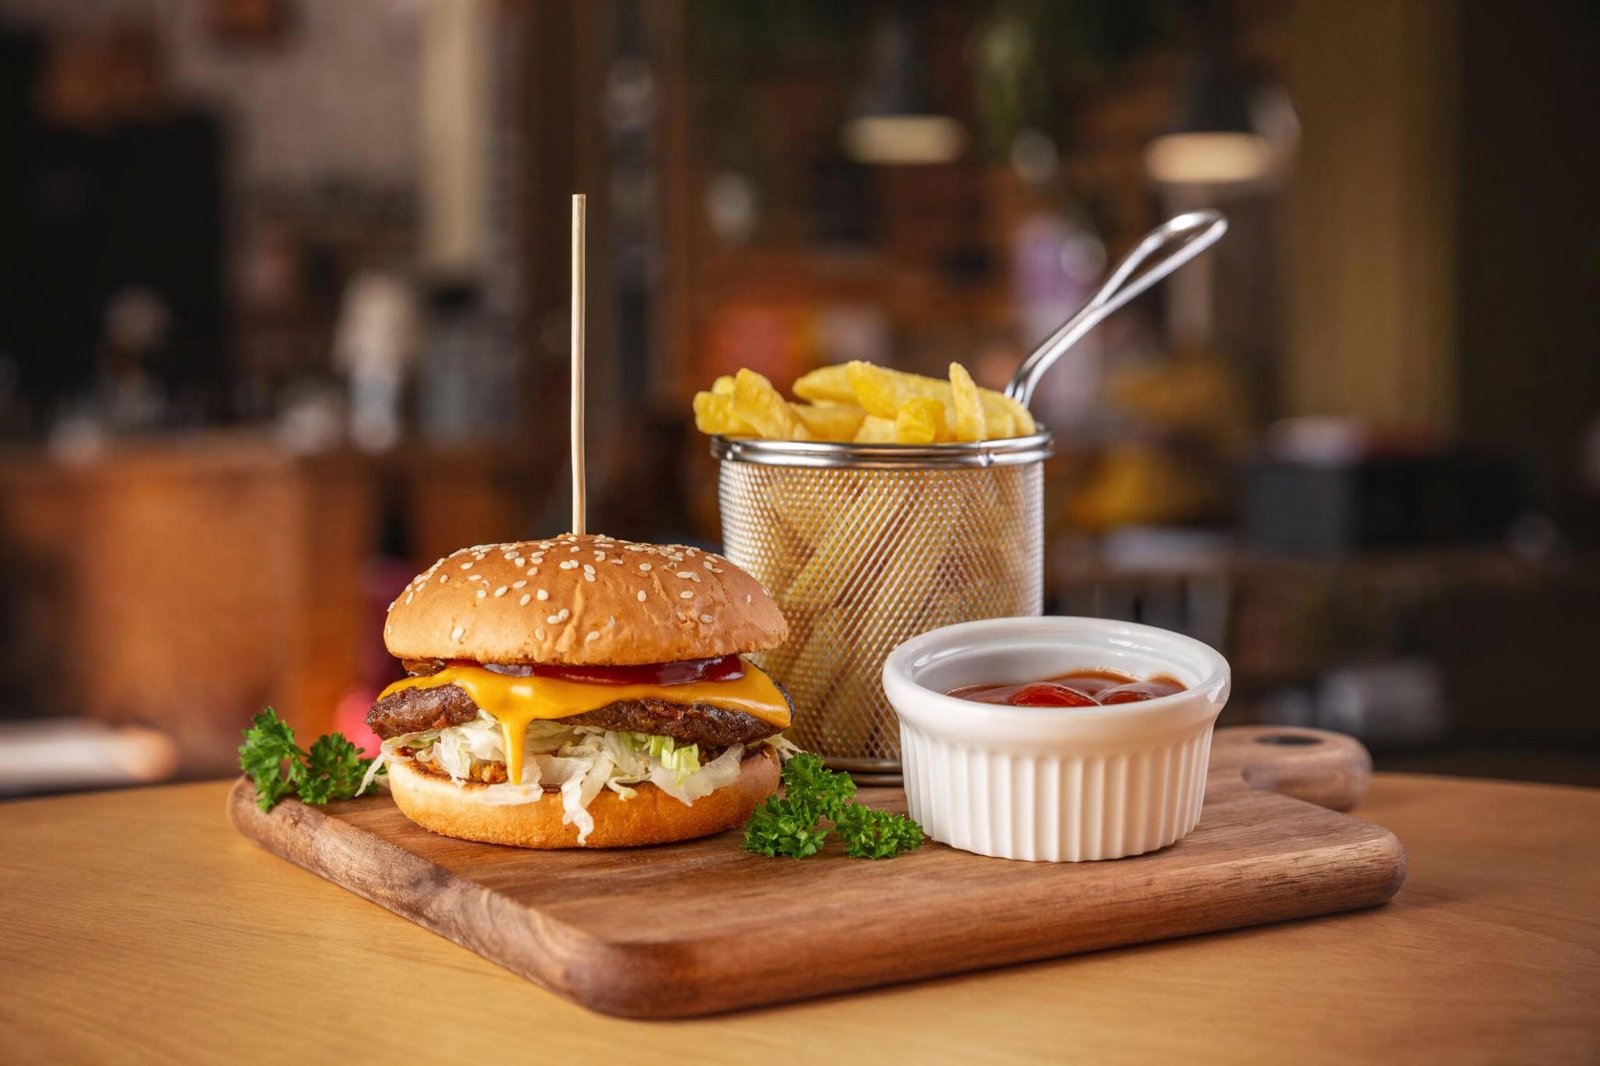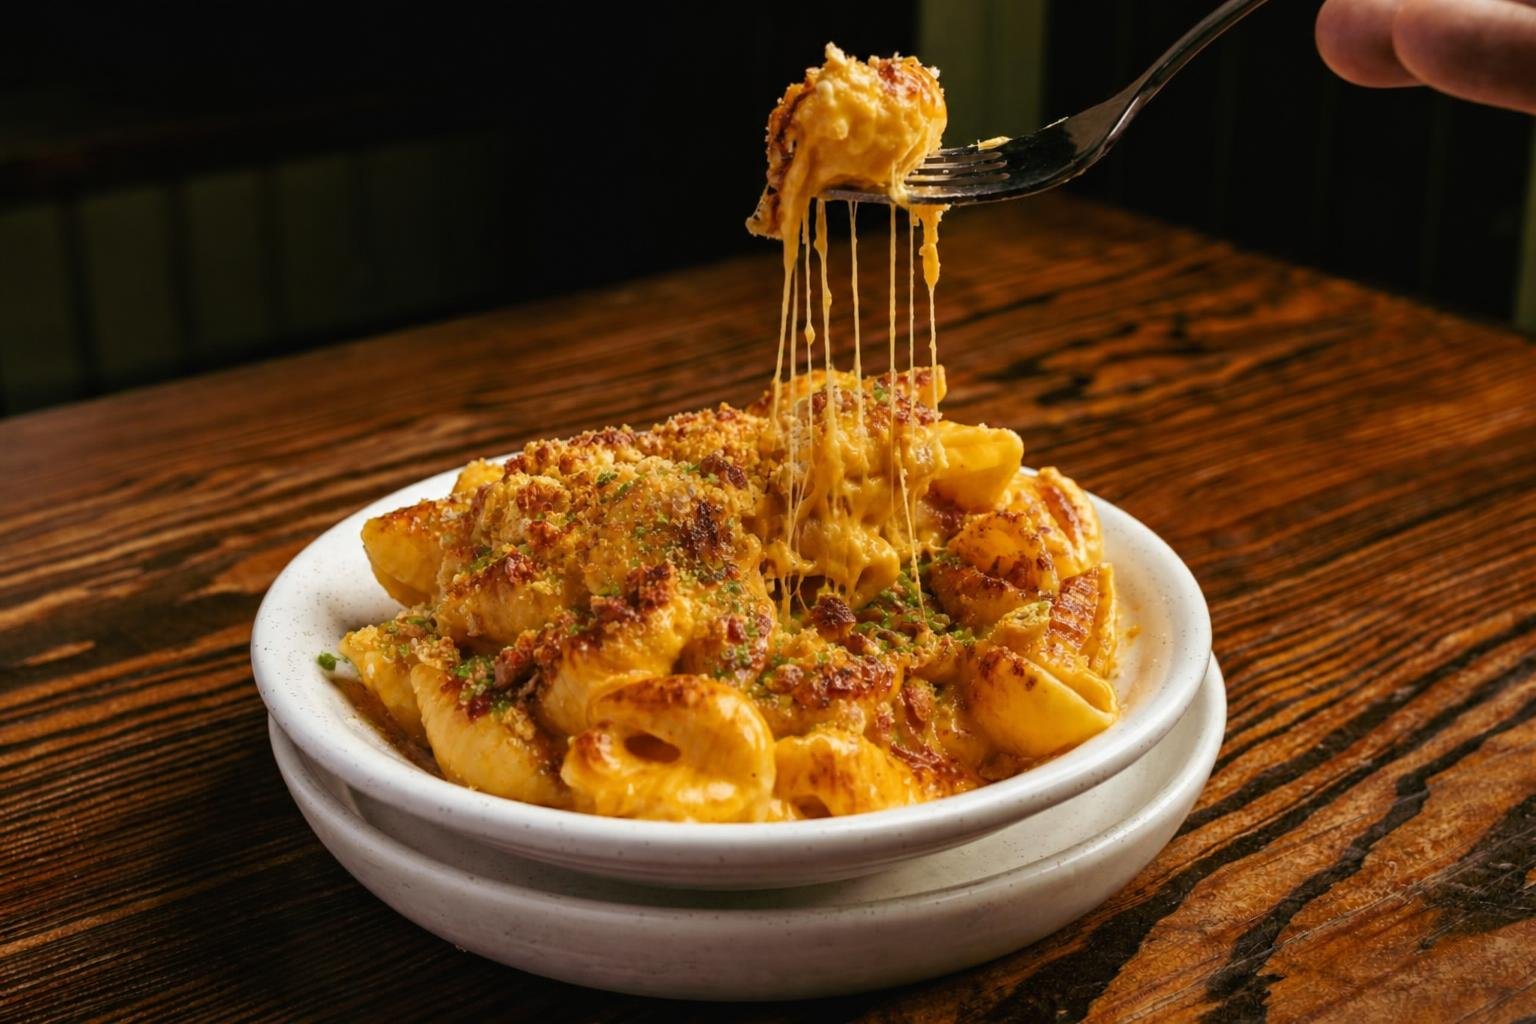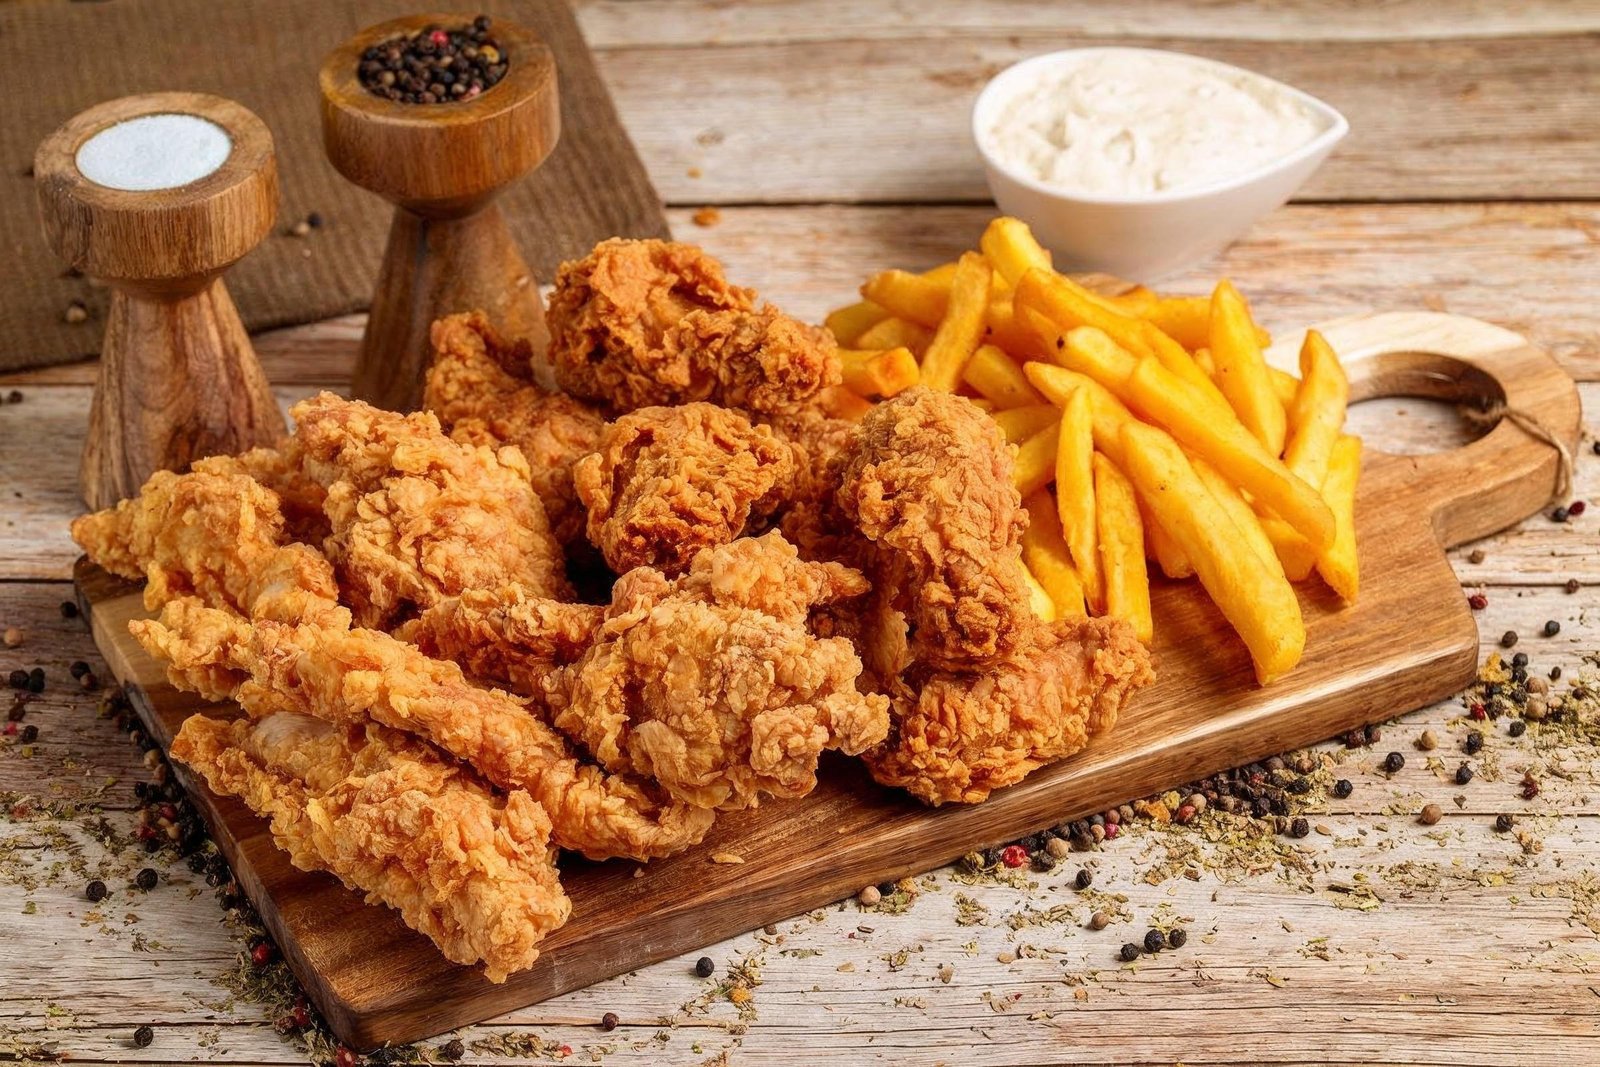
- A Crispy Fried Chicken is one of the most loved comfort foods around the world. It features juicy chicken pieces coated in a perfectly seasoned flour mixture and fried until golden brown and irresistibly crunchy. The combination of a crispy exterior and tender, flavorful meat makes this dish a favorite for family dinners, parties, weekend gatherings, and special occasions.
- Making restaurant-style fried chicken at home is easier than you might think. The secret lies in marinating the chicken long enough so the flavors penetrate deeply into the meat, then coating it with a well-seasoned flour mixture that creates the signature crispy crust. Frying the chicken at the correct oil temperature ensures that the coating becomes beautifully crunchy while the inside remains juicy and fully cooked.
- This recipe uses simple pantry ingredients such as flour, cornstarch, paprika, garlic powder, onion powder, and black pepper to build layers of flavor. A buttermilk marinade helps tenderize the chicken while also allowing the coating to stick better during frying. Once cooked, the chicken develops a crispy, golden crust that stays crunchy even after resting for a few minutes.
- Whether you’re serving it with French fries, coleslaw, mashed potatoes, or your favorite dipping sauces, this homemade Crispy Fried Chicken delivers delicious restaurant-quality results every time. Follow each step carefully for perfectly seasoned, crunchy fried chicken that’s sure to become a family favorite.
Recipe Information
| Details | Information |
|---|---|
| Cuisine | American |
| Course | Main Course |
| Preparation Time | 20 Minutes |
| Marinating Time | 2 Hours |
| Cooking Time | 20 Minutes |
| Total Time | 2 Hours 40 Minutes |
| Difficulty | Medium |
| Servings | 4 |
| Calories | Approximately 620 kcal per serving |
Ingredients

For the Chicken Marinade
| Ingredient | Quantity |
|---|---|
| Chicken Drumsticks & Thighs | 1 kg |
| Buttermilk | 2 Cups |
| Salt | 1 tsp |
| Black Pepper | 1 tsp |
| Garlic Powder | 1 tsp |
| Paprika | 1 tsp |
| Hot Sauce (Optional) | 1 tbsp |
For the Crispy Coating
| Ingredient | Quantity |
|---|---|
| All-Purpose Flour | 2 Cups |
| Cornstarch | ½ Cup |
| Paprika | 1 tbsp |
| Garlic Powder | 1 tsp |
| Onion Powder | 1 tsp |
| Black Pepper | 1 tsp |
| Salt | 1 tsp |
| Baking Powder | 1 tsp |
For Frying
| Ingredient | Quantity |
|---|---|
| Vegetable Oil | For Deep Frying |
Equipment Needed
- Large mixing bowls
- Deep frying pan or Dutch oven
- Kitchen tongs
- Wire rack
- Paper towels
- Whisk
- Measuring cups and spoons
- Kitchen thermometer (optional)
Step 1 – Marinate the Chicken

- Begin by washing and patting the chicken pieces dry with paper towels. Drying the chicken helps the marinade coat every piece evenly. Place the chicken drumsticks and thighs into a large mixing bowl. Add the buttermilk, salt, black pepper, garlic powder, paprika, and hot sauce if you prefer a slightly spicy flavor. Using clean hands or a large spoon, mix everything thoroughly until every piece of chicken is completely coated in the marinade.
- The buttermilk plays an important role because its natural acidity gently tenderizes the meat without making it mushy. It also helps the seasoned flour stick better during coating, resulting in a thicker and crispier crust after frying. Cover the bowl with plastic wrap or a lid and refrigerate the chicken for at least 2 hours. For even better flavor, marinate it overnight. The longer the chicken marinates, the juicier and more flavorful it will become. While the chicken is marinating, prepare the coating ingredients so everything is ready before frying.
Step 2 – Prepare the Crispy Coating

- In a separate large mixing bowl, combine the all-purpose flour, cornstarch, paprika, garlic powder, onion powder, salt, black pepper, and baking powder. Whisk the dry ingredients together thoroughly so the seasonings are evenly distributed throughout the flour mixture. Cornstarch is one of the key ingredients for achieving a light, crispy coating, while baking powder helps create tiny air pockets that make the crust extra crunchy after frying.
- To create a restaurant-style texture, drizzle two or three tablespoons of the buttermilk marinade into the flour mixture and lightly toss it with your fingertips. This creates small flour clumps that fry into delicious crispy flakes on the surface of the chicken. Avoid adding too much liquid because the coating should remain loose rather than forming a paste.
- Once the coating is ready, remove the marinated chicken from the refrigerator. Allow any excess marinade to drip off before coating each piece generously in the seasoned flour mixture. Press the flour firmly onto the chicken so every surface is completely covered. Place the coated chicken on a tray and let it rest for about 10 minutes, allowing the coating to adhere properly before frying.
Step 3 – Heat the Oil

- Pour enough vegetable oil into a deep frying pan or Dutch oven so the chicken pieces can be mostly submerged while frying. Heat the oil slowly over medium heat until it reaches approximately 170–175°C (340–350°F). Maintaining the correct oil temperature is essential for achieving perfectly cooked fried chicken. If the oil is too hot, the coating will brown too quickly while the inside remains undercooked. If the oil is too cool, the coating will absorb excess oil and become greasy instead of crispy.
- If you have a kitchen thermometer, use it to monitor the temperature throughout the cooking process. If you don’t have one, drop a small pinch of the flour mixture into the oil. It should begin sizzling immediately and slowly rise to the surface without burning. This indicates the oil is ready for frying.
- Avoid overcrowding the pan because adding too many chicken pieces at once causes the oil temperature to drop, preventing the coating from becoming crispy. Fry the chicken in batches if necessary to maintain consistent heat.
Step 4 – Fry the Chicken

- Carefully lower the coated chicken pieces into the hot oil one at a time using kitchen tongs. Always place the chicken into the oil away from your body to reduce the risk of splashing. Once the chicken is in the pan, avoid moving it for the first few minutes. This allows the coating to set properly and develop its signature crispy crust without breaking away from the meat.
- Cook the chicken for approximately 12–15 minutes, turning the pieces every few minutes so they brown evenly on all sides. Larger pieces such as thighs may require a little longer than drumsticks, so monitor them carefully. The coating should become a deep golden brown with a crunchy texture, while the inside should reach an internal temperature of 74°C (165°F) to ensure it is fully cooked.
- Once cooked, remove the fried chicken from the oil and place it on a wire rack rather than directly on paper towels. A wire rack allows excess oil to drip away while keeping the coating crisp on all sides. Let the chicken rest for about 5 minutes before serving to allow the juices to settle and the crust to become even crunchier.
Step 5 – Check for Doneness & Rest the Chicken

- After removing the chicken from the hot oil, place each piece on a wire rack instead of directly on paper towels. A wire rack allows excess oil to drip away while keeping air circulating around the chicken, helping the coating stay crispy on all sides. If the chicken is placed directly on paper towels for too long, the bottom coating may soften because of trapped steam.
- Allow the fried chicken to rest for 5–10 minutes before serving. This resting time is just as important as frying because it allows the hot juices inside the meat to redistribute evenly. Cutting into the chicken immediately after frying can cause the juices to escape, leaving the meat less moist.
- If you’re unsure whether the chicken is fully cooked, insert a meat thermometer into the thickest part without touching the bone. The internal temperature should read 74°C (165°F). If you don’t have a thermometer, cut into the thickest piece. The meat should be completely white and opaque with clear juices, and there should be no traces of pink near the bone.
- While the chicken rests, the crispy coating continues to firm up, creating an even crunchier texture. This short waiting period results in fried chicken that is both juicy inside and perfectly crisp outside.
Step 6 – Prepare the Dipping Sauces

- While the fried chicken is resting, prepare a selection of dipping sauces to complement its crispy coating. A variety of sauces allows everyone to customize the flavor according to their preference. Classic ketchup is always a popular option, while creamy garlic aioli provides a rich, savory taste that pairs beautifully with crunchy chicken. Honey mustard offers a perfect balance of sweetness and tanginess, and barbecue sauce adds a smoky depth of flavor.
- If you enjoy spicy food, prepare a simple spicy mayonnaise by mixing mayonnaise with hot sauce and a pinch of paprika or cayenne pepper. Stir each sauce until smooth and transfer them into small serving bowls. Arrange the bowls neatly on a serving tray so they are easy to access during the meal.
- You can also garnish the sauces with chopped parsley or a light sprinkle of paprika for a more attractive presentation. Preparing the sauces while the chicken rests ensures that everything is ready to serve together while the chicken is still hot and crispy.
Step 7 – Plate the Fried Chicken

- Arrange the crispy fried chicken pieces on a large wooden serving board or individual dinner plates. Place the larger pieces toward the center and smaller pieces around the edges for an attractive presentation. Add a generous serving of crispy French fries, potato wedges, mashed potatoes, or creamy coleslaw alongside the chicken to create a complete meal.
- Include small bowls of the prepared dipping sauces near the chicken so everyone can easily enjoy different flavors. Add a few pickle slices for a tangy contrast that balances the richness of the fried chicken. Garnish the platter with chopped fresh parsley and a few lemon wedges. A light squeeze of fresh lemon juice over the chicken just before eating adds brightness and enhances the flavor without making the coating soggy.
- Take a moment to ensure the chicken is arranged neatly with the crispy coating clearly visible. A well-presented platter not only looks restaurant-quality but also makes the meal more inviting for family dinners, parties, or special occasions.
Step 8 – Serve and Enjoy

- Serve the Crispy Fried Chicken immediately while the coating is still hot, crunchy, and golden brown. Freshly fried chicken always delivers the best texture because the crispy crust is at its peak within the first few minutes after cooking. Place each serving on a warm plate together with French fries, mashed potatoes, biscuits, or a fresh salad to create a satisfying and balanced meal.
- Offer a selection of dipping sauces such as honey mustard, barbecue sauce, garlic aioli, spicy mayonnaise, or classic ketchup so everyone can enjoy different flavor combinations. Pair the meal with iced tea, fresh lemonade, soft drinks, or creamy milkshakes for a complete restaurant-style dining experience.
- Whether you’re serving this recipe for a family dinner, weekend gathering, picnic, or party, this homemade Crispy Fried Chicken is sure to impress. The juicy, well-seasoned meat combined with the extra crispy coating creates a delicious meal that’s every bit as satisfying as your favorite fried chicken restaurant.
Chef Tips
| Tip | Benefit |
|---|---|
| Marinate the chicken overnight | Deeper flavor and juicier meat |
| Use buttermilk | Tenderizes the chicken naturally |
| Add cornstarch to the coating | Creates extra crispiness |
| Let the coated chicken rest before frying | Helps the coating stick better |
| Maintain oil at 170–175°C | Ensures even cooking |
| Fry in small batches | Prevents the oil temperature from dropping |
| Drain on a wire rack | Keeps the coating crispy |
| Rest before serving | Locks in the juices |
⚠️ Common Mistakes
| Mistake | Solution |
|---|---|
| Skipping the marinade | Marinate for at least 2 hours |
| Oil too hot | Keep oil at 170–175°C |
| Oil too cold | Heat properly before frying |
| Overcrowding the pan | Fry in batches |
| Thin coating | Press flour firmly onto the chicken |
| Turning too often | Flip only every few minutes |
| Draining only on paper towels | Use a wire rack |
| Serving immediately from the oil | Rest for 5 minutes |
🍗 Delicious Variations
- Spicy Fried Chicken – Add cayenne pepper and chili powder to the coating.
- Garlic Fried Chicken – Increase the garlic powder and serve with garlic butter.
- Extra Crispy Fried Chicken – Double-coat the chicken for an even thicker crust.
- Southern-Style Fried Chicken – Add a blend of herbs and white pepper.
- Honey Butter Fried Chicken – Brush the hot chicken with honey butter before serving.
- Nashville Hot Chicken – Coat the fried chicken in spicy chili oil.
- Lemon Pepper Fried Chicken – Sprinkle lemon pepper seasoning over the hot chicken.
- Herb Fried Chicken – Add dried thyme, oregano, and parsley to the flour mixture.
🍽️ Serving Suggestions
Crispy Fried Chicken pairs perfectly with:
- 🍟 French Fries
- 🥔 Mashed Potatoes
- 🥗 Coleslaw
- 🥖 Buttermilk Biscuits
- 🌽 Corn on the Cob
- 🥒 Pickles
- 🥗 Fresh Garden Salad
- 🥤 Iced Tea or Lemonade
❄️ Storage & Reheating
| Storage Method | Recommended Time |
|---|---|
| Refrigerator | Up to 4 Days |
| Freezer | Up to 2 Months |
Store leftover fried chicken in an airtight container after it has cooled completely. Refrigerate promptly to maintain freshness. For the crispiest results, reheat the chicken in an oven or air fryer at 190°C (375°F) for 10–15 minutes until heated through. Avoid using a microwave if possible, as it softens the crispy coating.
🥗 Nutrition Facts
Approximate values per serving
| Nutrient | Amount |
|---|---|
| Calories | 620 kcal |
| Protein | 38 g |
| Carbohydrates | 32 g |
| Fat | 36 g |
| Fiber | 2 g |
| Sugar | 3 g |
| Sodium | 780 mg |
Nutrition values are approximate and may vary depending on the ingredients and cooking method.
❓ Frequently Asked Questions
1. Why use buttermilk for fried chicken?
Buttermilk tenderizes the chicken and helps the coating stick better, resulting in a crispier crust.
2. How do I keep the coating crispy?
Drain the chicken on a wire rack instead of paper towels and avoid covering it while it’s hot.
3. Can I use boneless chicken?
Yes. Chicken breast or thigh fillets work well, but reduce the cooking time accordingly.
4. Can I make this recipe spicy?
Absolutely. Add cayenne pepper, chili powder, or hot sauce to the marinade and coating.
5. How do I know when the chicken is cooked?
The internal temperature should reach 74°C (165°F), and the juices should run clear.
6. Can I freeze fried chicken?
Yes. Cool it completely, wrap it well, and freeze for up to 2 months.
7. What’s the best oil for frying?
Vegetable, canola, peanut, or sunflower oil are all excellent choices because they have high smoke points.
8. Why did my coating fall off?
This usually happens if the chicken wasn’t rested after coating, the oil wasn’t hot enough, or the chicken was turned too early during frying.